CV Boot Protector Fitting Instructions
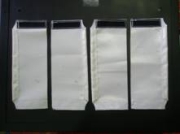
Step by Step Instructions1. Safely remove wheels from the ATV as per owners manual. 2. Lay all covers on a flat surface Velcro and tape side up (Diag 1). Diag 1
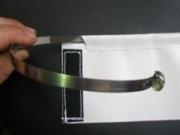
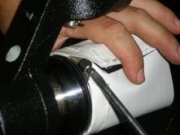
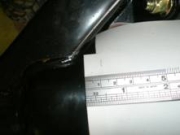
3. Short covers fit front end and long to the rear. 4. Thread clamp into sewn sleeve (Diag 2) starting from hook end of Velcro strip. 5. Clean CV boot and metal band of CV about to be fitted. Diag 2
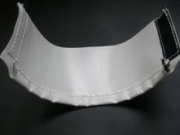
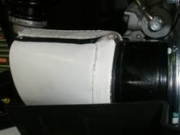
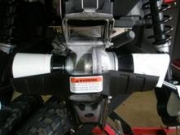
6. Place cover & clamp around outer of CV. Thread clamp band under clamp screw and tighten clamp with a screwdriver (front) or ¼” socket (rear). Ensure correct direction of rotation (Diag 8) Ensure Clamp is fastened evenly 360° around the CV joint. Secure Velcro tabs together (Diag 3). Diag 3
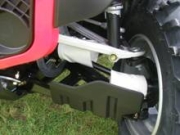
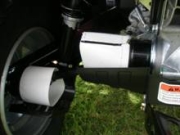
7. Repeat steps 1-5 for the other 3 front covers (Diag 4). Diag 4
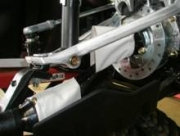
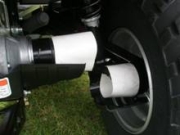
8. Repeat steps 1-5 for the left & right inside rear CV covers (Diag 5). Diag 5
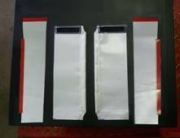
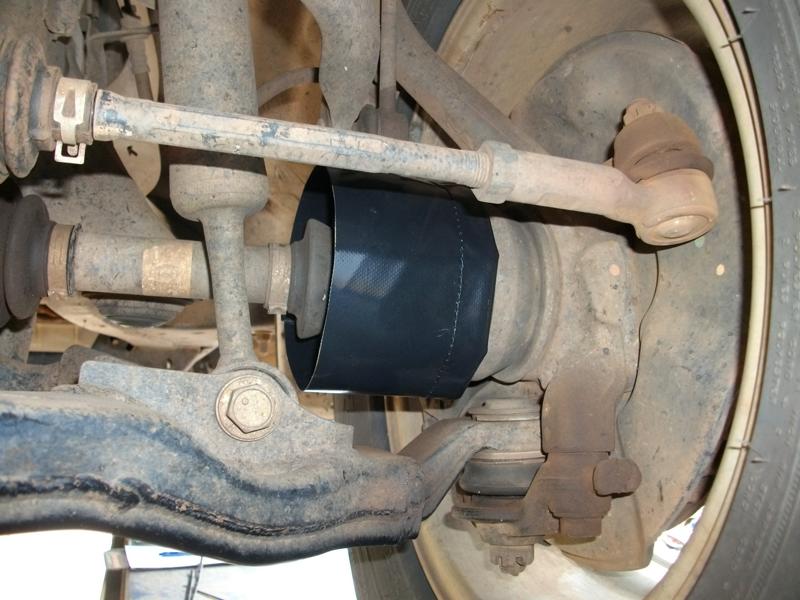
9. Clean rear outer CV Housing with methylated spirit. 10. Carefully remove the red outer tape to expose the adhesive. 11. Place adhesive strip on end of cover facing down as shown in Diag 6 taking care to keep adhesive strip clean. 12. Overlap adhesive strip over edge of CV housing by10mm evenly placing the tape around the entire CV Housing and pressing firmly on tape area (Diag 6). Diag 6
13. Overlap the ends evenly and join the adhesive tape to the opposite end of cover. Press tape area firmly together (Diag 7). Diag 7
14. Replace wheels and test ride 5- 10km then recheck clamp tension.
Note: Inside of CV covers need to be cleaned regularly on the ATV to avoid dirt accumulation and subsequent wear. Correct direction of rotation is essential to avoid Velcro or adhesive strip being pulled apart during operation of ATV (Diag 8).
You now have Extreme C/V Saving Protection! |
What's NewAutomotive CV savers
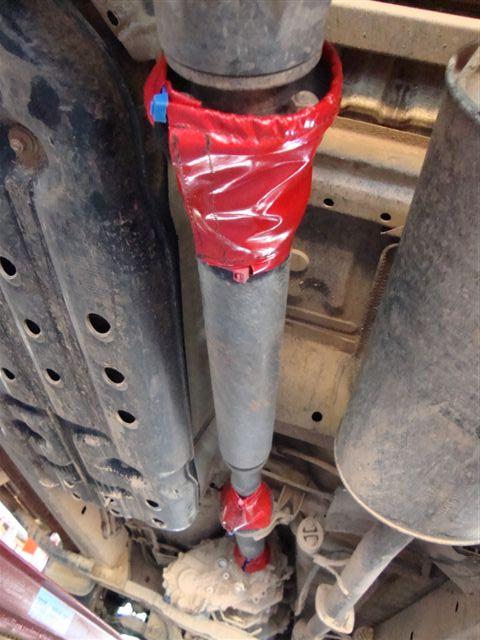
CV savers now available to suit most 4WD makes and models. Featured ProductsHilux front and rear tailshaft protector. This new and inovative product protects uni joints from mud and water.
Featured Links
|